
Today I would like to share with you a frame that I did using some simple mixed media techniques to create lots of texture. The frame I purchased at our local craft store and is about 6 1/2"x 8 1/2". The background inside the frame is a piece of 5" x 7" canvas board that I got at my local dollar store. This is a very inexpensive project.
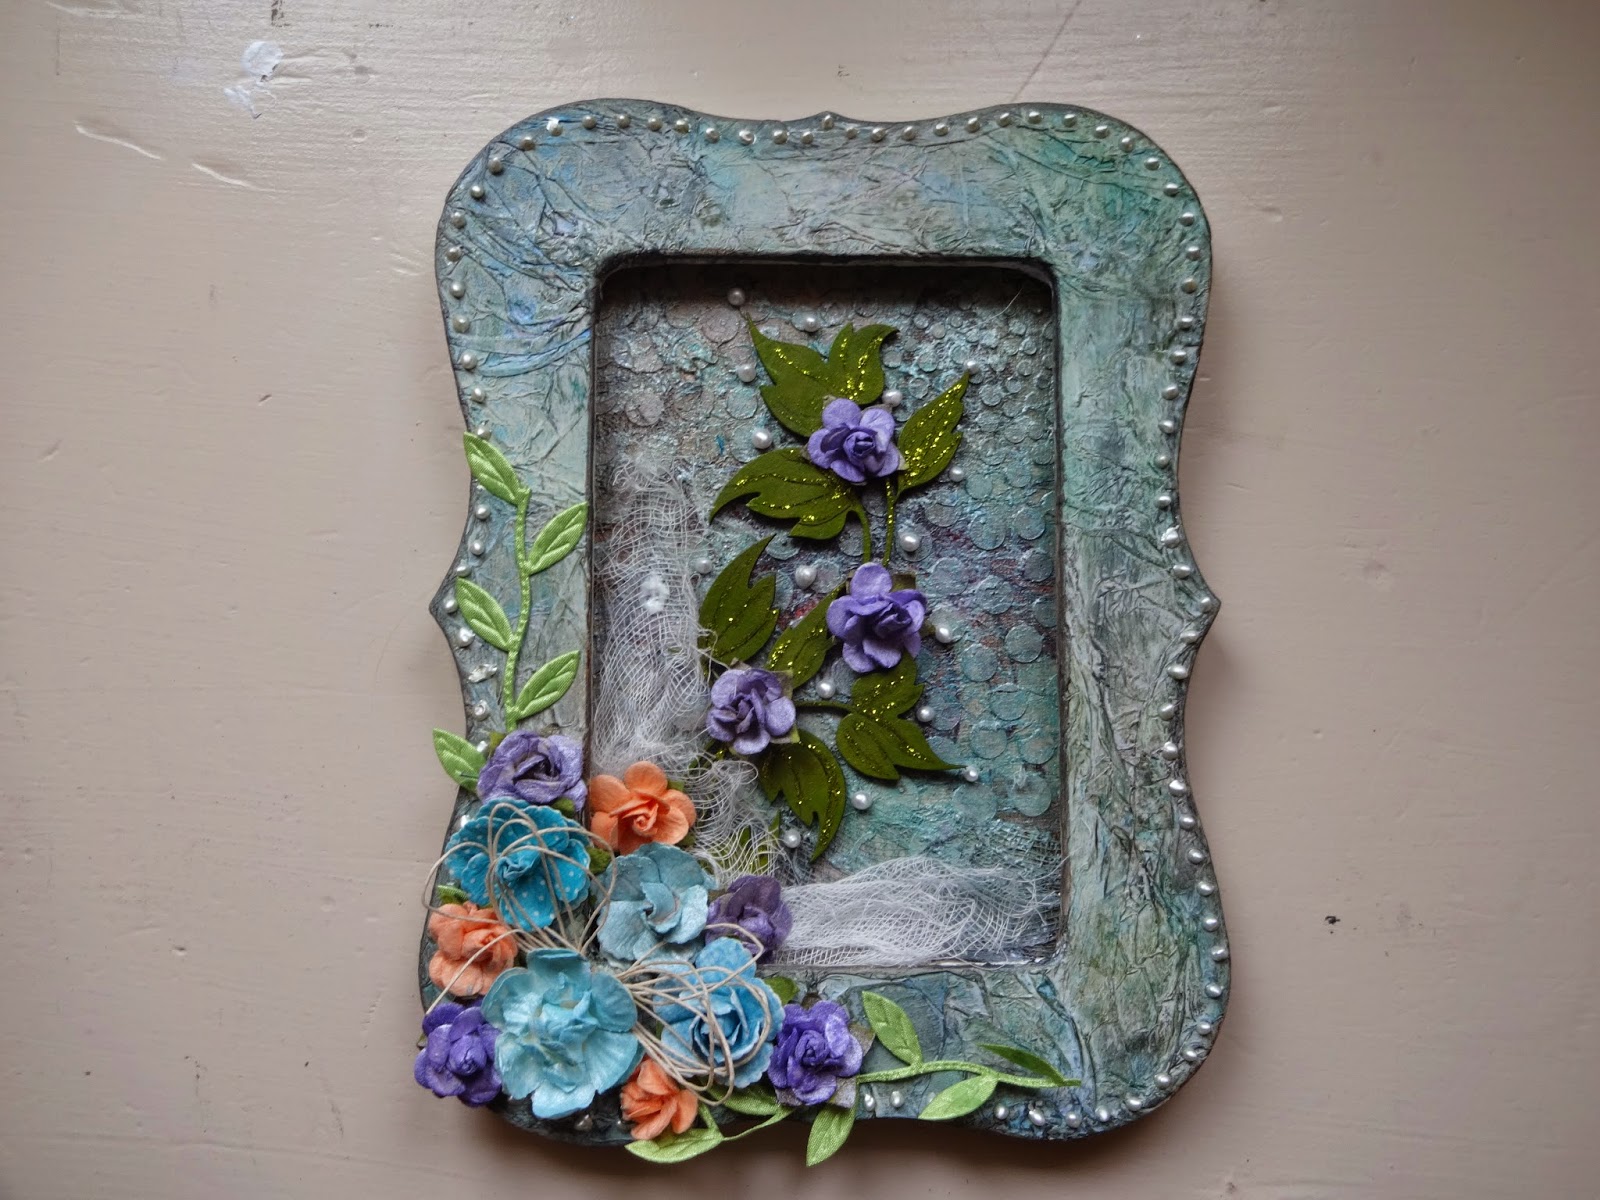
Here is the completed frame.
I wasn't sure what I was going to do at first. So to start with, I took the canvas board and covered it with a serviette that I had adhering it down with matte gel medium. I then took a piece of cheese cloth and covered the complete surface. You can't really see the cheese cloth in this picture, but it is there.

I then took a stencil from Crafter's Workshop and applied moulding paste onto the cheese cloth. I did the complete surface with the paste. This gave it lots of texture which is what I was going for.

I let everything dry completely. I then misted here and there using Prima's "peony" spray, followed by Prima's soft teal, then here and there with Prima's iris spray, of course drying each colour. This is how it turned out. I wasn't sure how the serviette would look but you can see it
coming through and adding some depth.

For the frame, I painted the surface with white gesso. I let this dry then I took pieces of tissue paper, wrinkled them up, spread them out slightly (I wanted to keep a lot of wrinkles) and applied them to the surface using matte gel medium. You can also use matte mod podge if you like.

I painted the surface again with gesso to give a good base for the next step. Using Tim Holtz "bundled sage" distress stain, I went over the surface here and there. Let it dry, then I went over the surface with "tumbled glass" distress stain. I did wipe a bit off here and there to let some of the white gesso show through. I also rubbed on some Inka Gold Metallic Rub, a colour called "haematite" which is a very dark grey blue, onto the raised tissue and around the inside and outside edges. And for a finishing touch, I placed white dimensional pearls around the entire outside edges.

For the inside of the frame I added a piece of cheesecloth at the bottom left corner. I painted and added one of my favourite Dusty Attic chipboard vines with some purple roses. And added some dimensional pearls in and around the vine. Kept it simple.
The bottom left corner of the frame I added some flowers from my stash, gave it a bit of a punch with the peach coloured flowers. The purple flowers were painted using Shimmerz paints to get the colour I wanted. Added a loopy bow made from cording as well as a piece of green silk vine that was hidden in my stash.

And there you have it. Very simple and easy to do. Thanks for watching.
Until next time,
"Reach for the moon. If you fall short, you may land on a star."
No comments:
Post a Comment